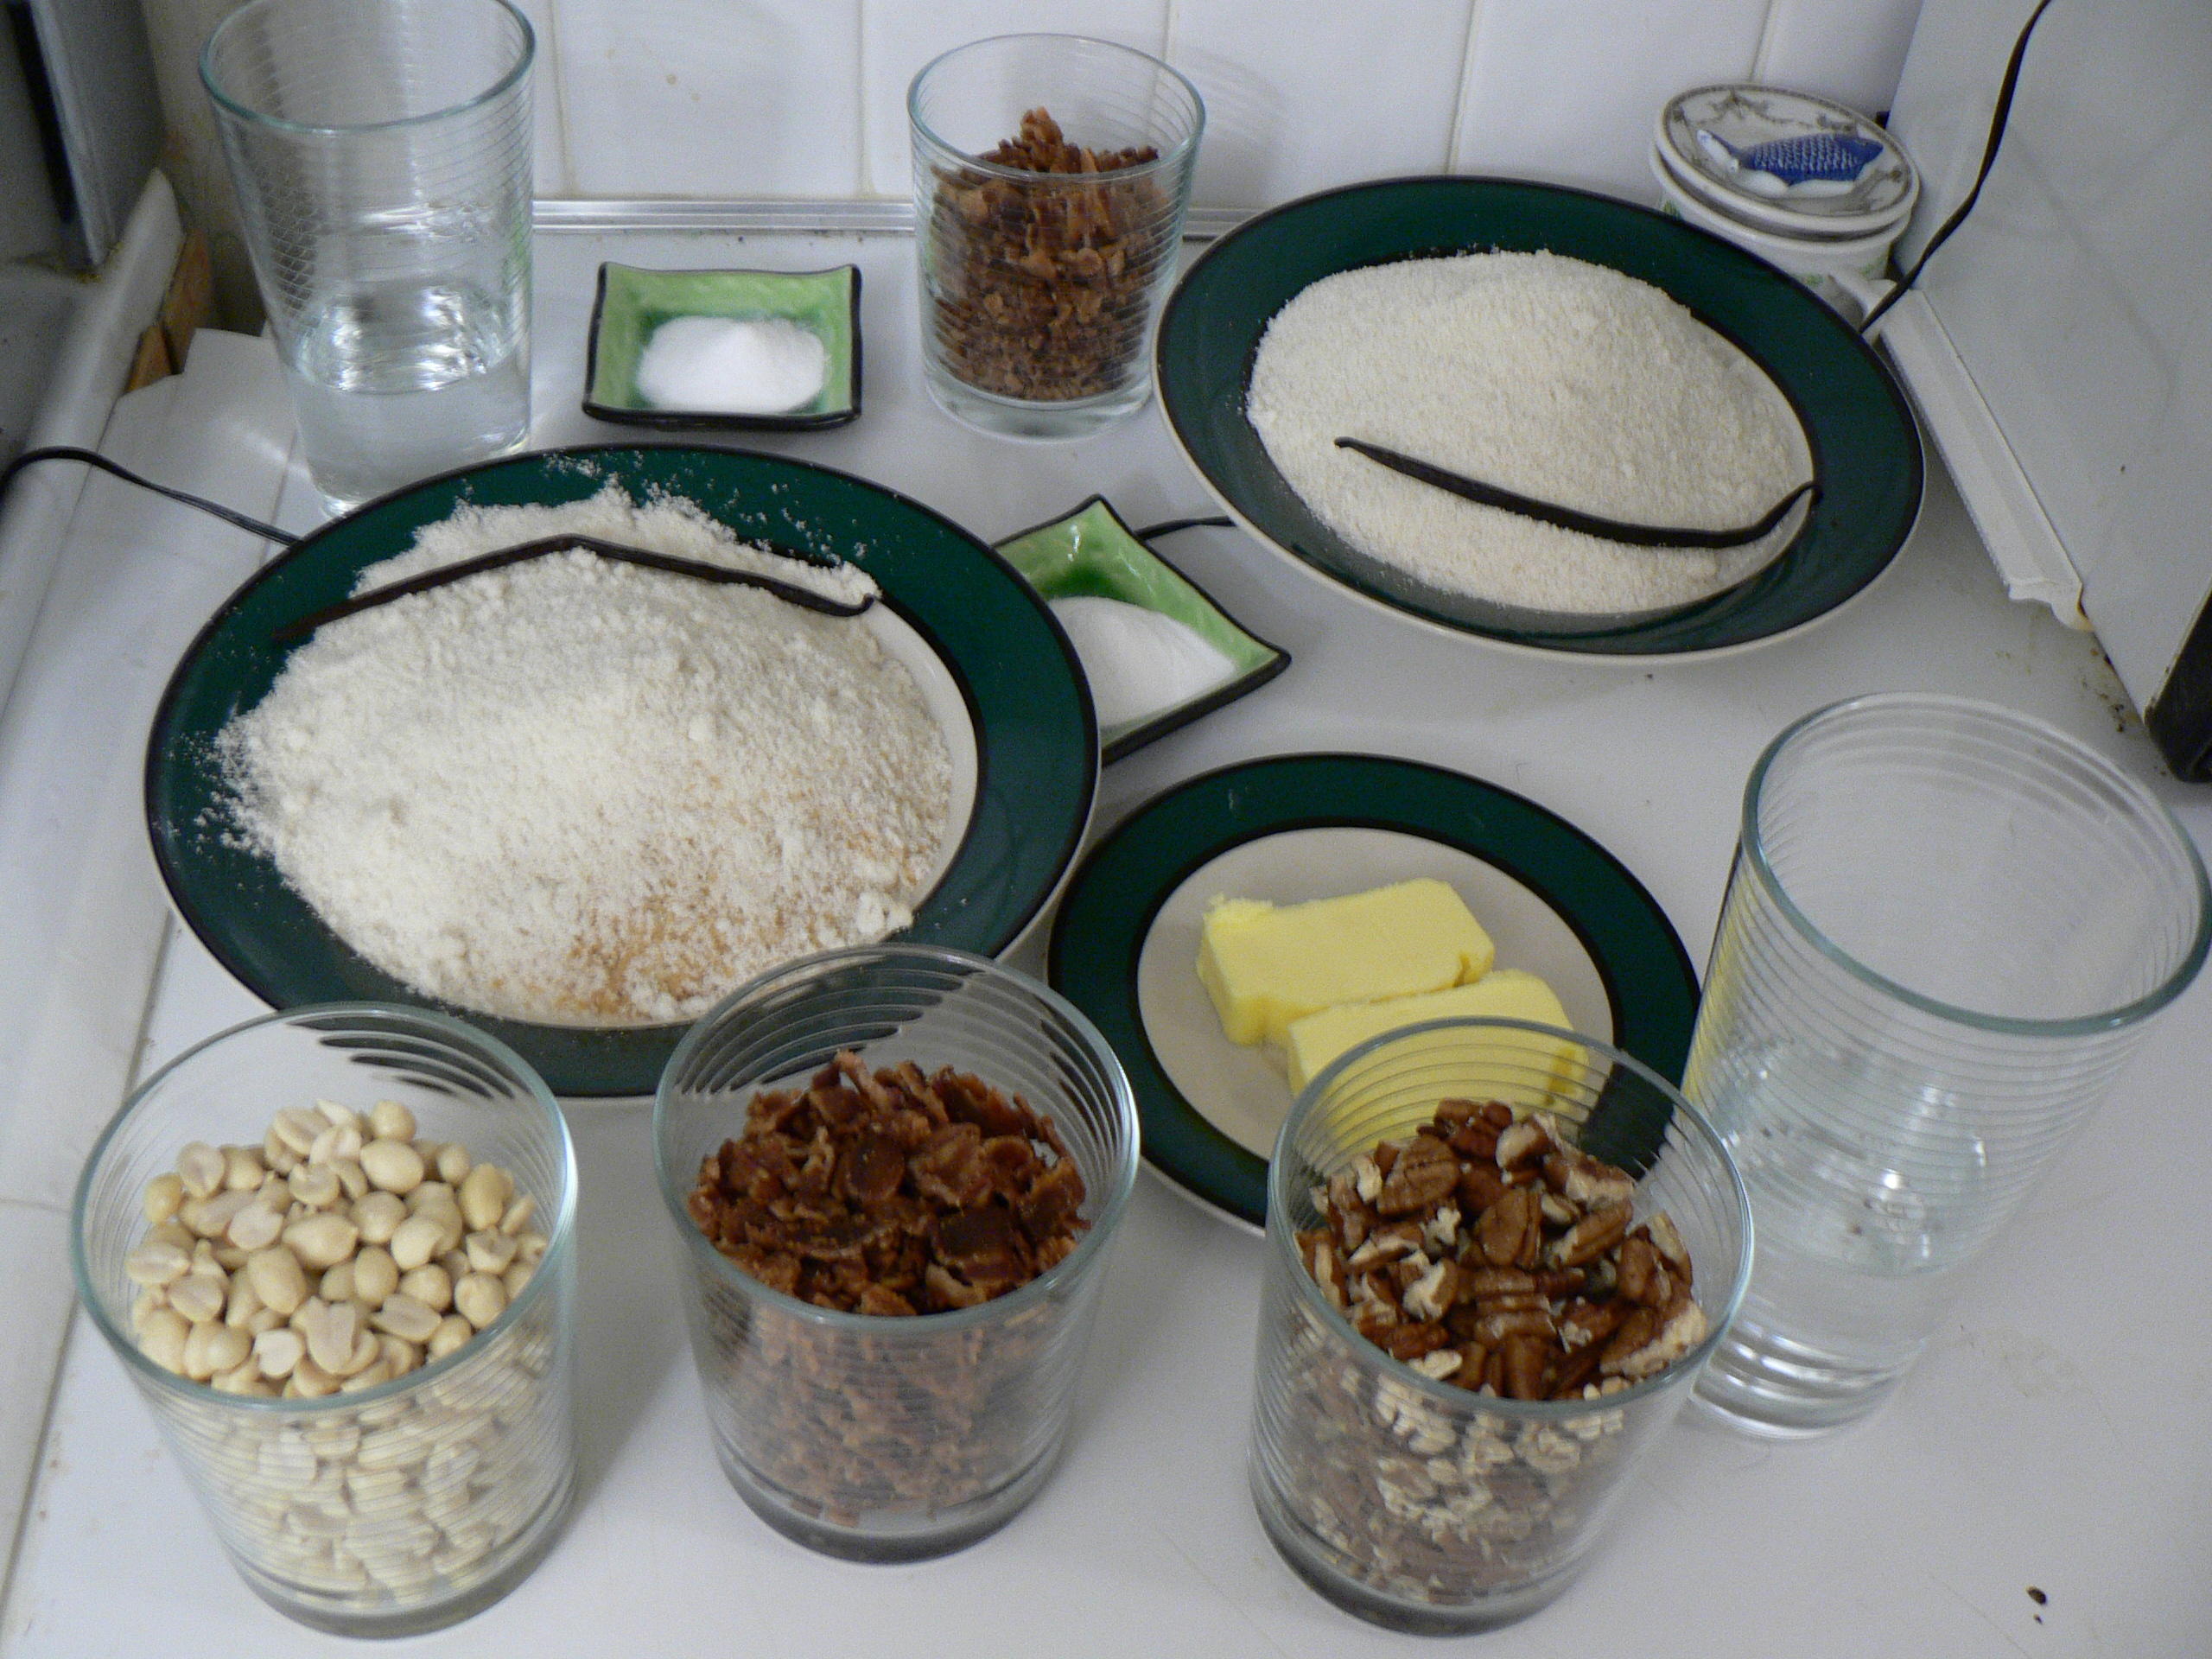
Mise en place is the French kitchen term for having everything prepared and in position before cooking starts. Iowa State University Extension describes it as a French phrase meaning “to put in place,” used by food professionals for all the things that have to be done to get ready to prepare a dish or menu item. In a restaurant, that means a cook’s station is fully stocked, chopped, measured, labeled and arranged before the first order prints. Done well, it is the reason a line can turn out dozens of plates an hour without chaos. Here is how professional kitchens do it, step by step.
Key takeaways
- Mise en place means having every ingredient and tool prepared and in its place before cooking begins.
- Extension educators break it into six steps: plan, prioritize, collect tools, collect ingredients, prep, and set up the station.
- Station layout matters as much as the prep itself; cooks arrange items in the order they will use them.
- Food safety is part of the setup: separate boards for raw proteins, prompt chilling and clean surfaces.
Why mise en place matters in a restaurant kitchen
During service a line cook has no time to look for a whisk or peel an onion. Every second spent hunting for something is a plate that leaves late. Professional kitchens are organized into stations, as our explainer on the kitchen brigade system describes, and each station’s cook is responsible for having their own setup ready before doors open.
Iowa State’s mise en place diagram lays out six steps. A school nutrition lesson plan from Montana State University uses the same six and pairs them with basic knife skills. The steps below follow that sequence, with notes on how each plays out in a restaurant.
Steps 1 and 2: Plan and prioritize your work
Prep starts with a list. In a restaurant, cooks check the menu, the number of reservations and what is already left from the day before. That tells them how much of each component they need. A prep list is often written on the station or kept on a clipboard, and items are crossed off as they are finished.
Next, prioritize. Not every task takes the same time. Stocks, braises and doughs need hours, so they start first. Delicate herbs and garnishes that wilt quickly are prepped last. A simple way to think about it:
| Priority | Type of task | Why it goes here |
|---|---|---|
| First | Long cooks such as stocks, braises and doughs | They need time unattended |
| Second | Sauces and bases | They hold well and other items depend on them |
| Third | Vegetable cuts and portioned proteins | Steady knife work that keeps when chilled |
| Last | Soft herbs, delicate garnishes, dressed items | They lose quality quickly once cut |
Steps 3 and 4: Collect tools and ingredients
Before cutting anything, gather what the job needs: knives, boards, containers, pans, spoons and towels. The Montana State lesson plan stresses selecting the correct knife for the task, preparing the workspace and placing a damp towel under each cutting board so it does not slide.
Then pull everything for the task from the walk-in, dry store or reach-in at once rather than making repeated trips. This is also the moment to check quality and quantity. If something is short, the cook tells the chef now, not halfway through service. Our walkthrough on how to become a line cook describes how new cooks learn these routines.

Step 5: Prep the ingredients
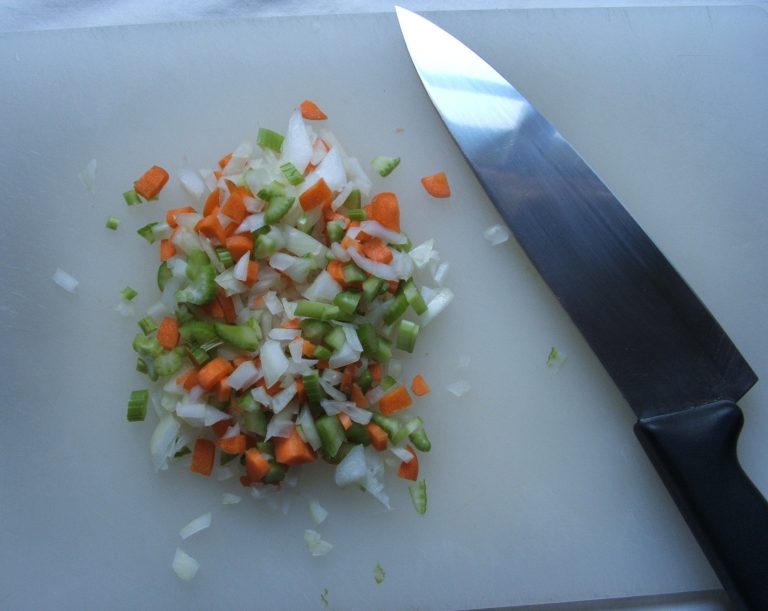
This is the cutting, measuring, portioning and pre-cooking most people picture. The Montana State lesson plan lists six basic cuts it teaches: diagonal or bias, oblique or roll, chiffonade, mince, julienne and batonnet, and dice. Uniform cuts are not just about looks; pieces of the same size cook at the same rate.
Food safety runs through this step. FoodSafety.gov’s four steps to food safety recommend washing hands for at least 20 seconds, using one cutting board for raw meat, poultry or seafood and a different one for produce and foods that will not be cooked, and never leaving perishable food out of refrigeration for more than two hours. Restaurant kitchens follow their local food code on top of that, but the same principles apply: separate, chill and keep surfaces clean.
Step 6: Set up your station
The final step turns a pile of prepped containers into a working station. The Montana lesson plan calls for an efficient layout such as an assembly line. In practice, a cook arranges items in the order they go onto the plate or into the pan, keeps the most used items closest, stores cold items in the station’s refrigerated drawers or on ice, and keeps backups nearby so a refill does not mean leaving the line.
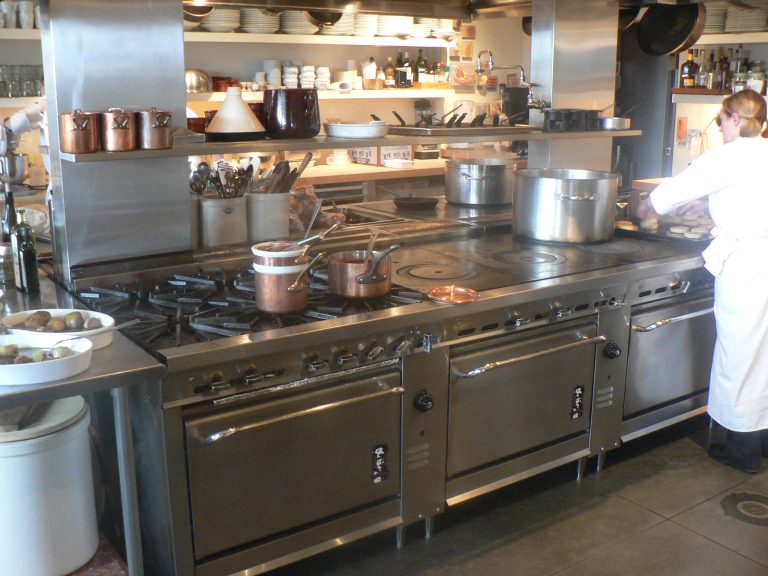
Look at a hot station before service and you will see rows of matching containers with sauces, garnishes and prepped vegetables, each with a spoon or tongs, laid out so the cook can reach them without looking. When the first tickets arrive, the work shifts from preparing to assembling and cooking. Our walkthrough of a typical dinner service shows what happens next.
Frequently asked questions
How do you pronounce mise en place?
Iowa State University Extension gives the pronunciation as “meez un plahss.” Cooks often shorten it to “mise” in conversation, as in “is your mise ready?”
Is mise en place only for professional kitchens?
No. The same six steps work at home. Reading the recipe, laying out tools and measuring ingredients before turning on the stove makes cooking calmer and reduces mistakes such as forgetting an ingredient.
How long does prep take in a restaurant?
It depends on the menu and the volume expected. Kitchens with many made-from-scratch components often spend several hours on prep before each service, which is why cooks usually start well before the dining room opens.
Try it on your next meal
Pick a recipe you know, then follow the six steps before you turn on the heat: plan, prioritize, gather tools, gather ingredients, prep, and arrange your station. Notice how much calmer the cooking feels when everything is in reach. For more on how professional kitchens run, browse our In the Kitchen articles.